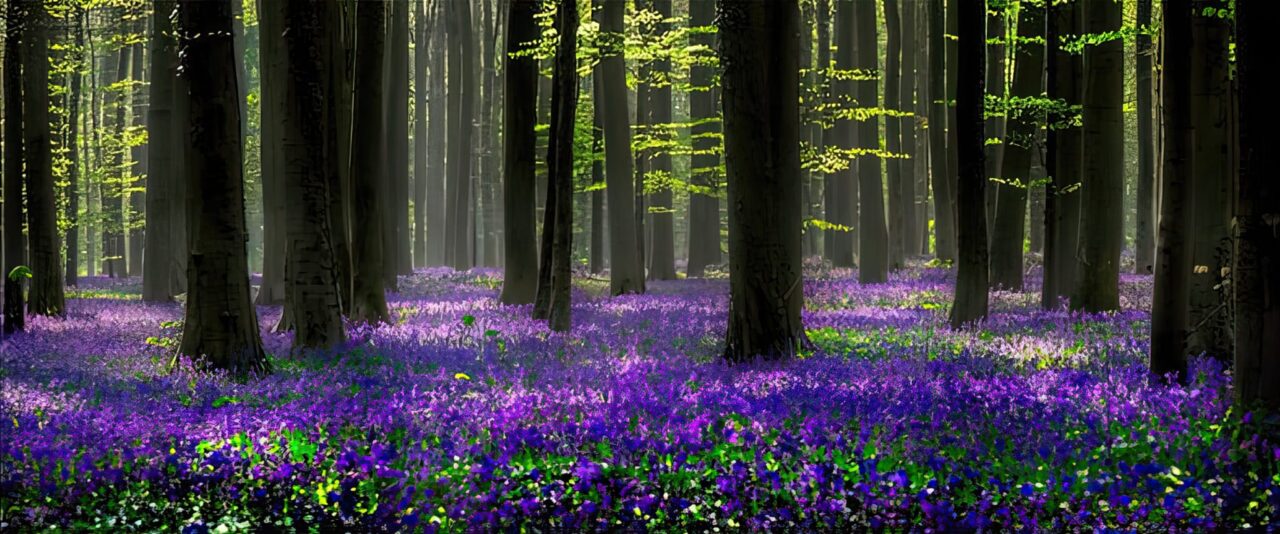
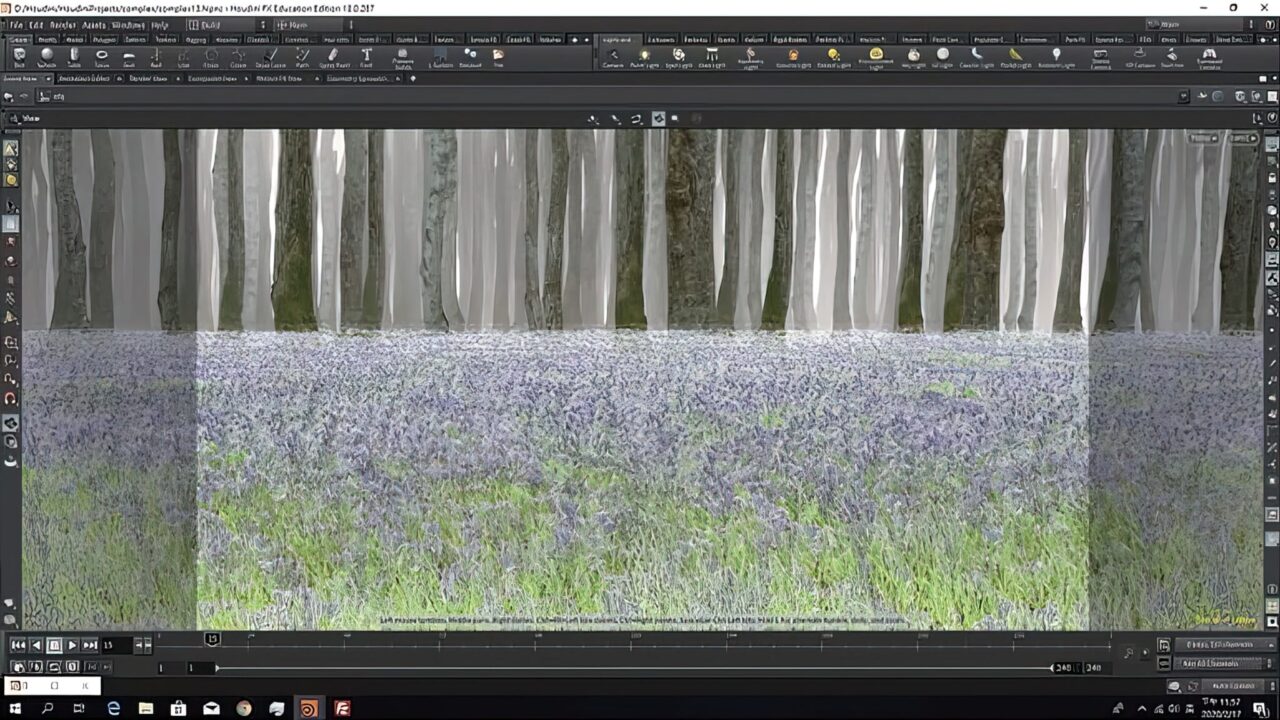
As a 3D VFX and Digital Composition artist, I have always been fascinated by the idea of creating beautiful landscapes and environments that transport viewers into a different world. For my project 2 in the VSFX721 course, I chose to create an enchanted forest scene inspired by the Hallerbos forest in Belgium.
In this breakdown, I will be sharing the key features and improvements in my project, as well as providing a technical guide for those who want to create a similar scene.
Key Features and Improvements
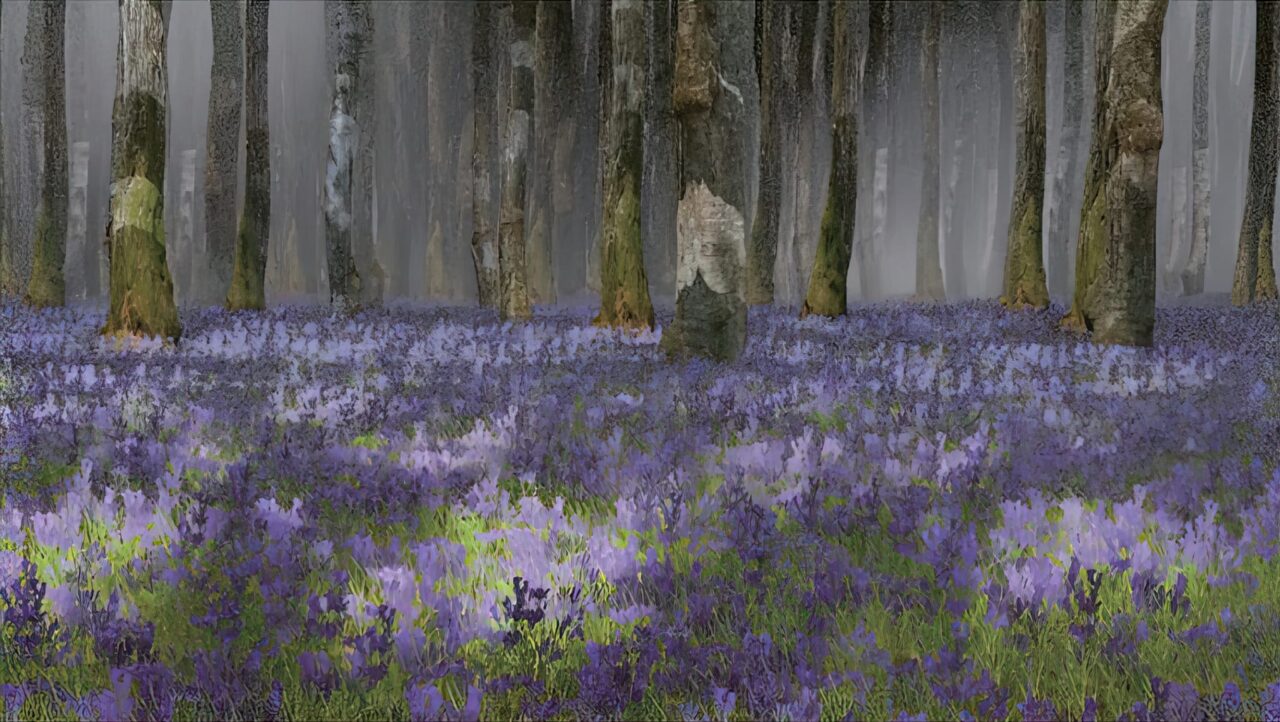
One of the main challenges in creating an enchanted forest scene is getting the right balance between the number of trees, flowers, and grass, while also maintaining a realistic look. To achieve this, I downloaded 4 different tree models and used the “copy to point” node to spread out the flower and grass textures. This worked better than expected and helped me to create a lush, enchanted forest.
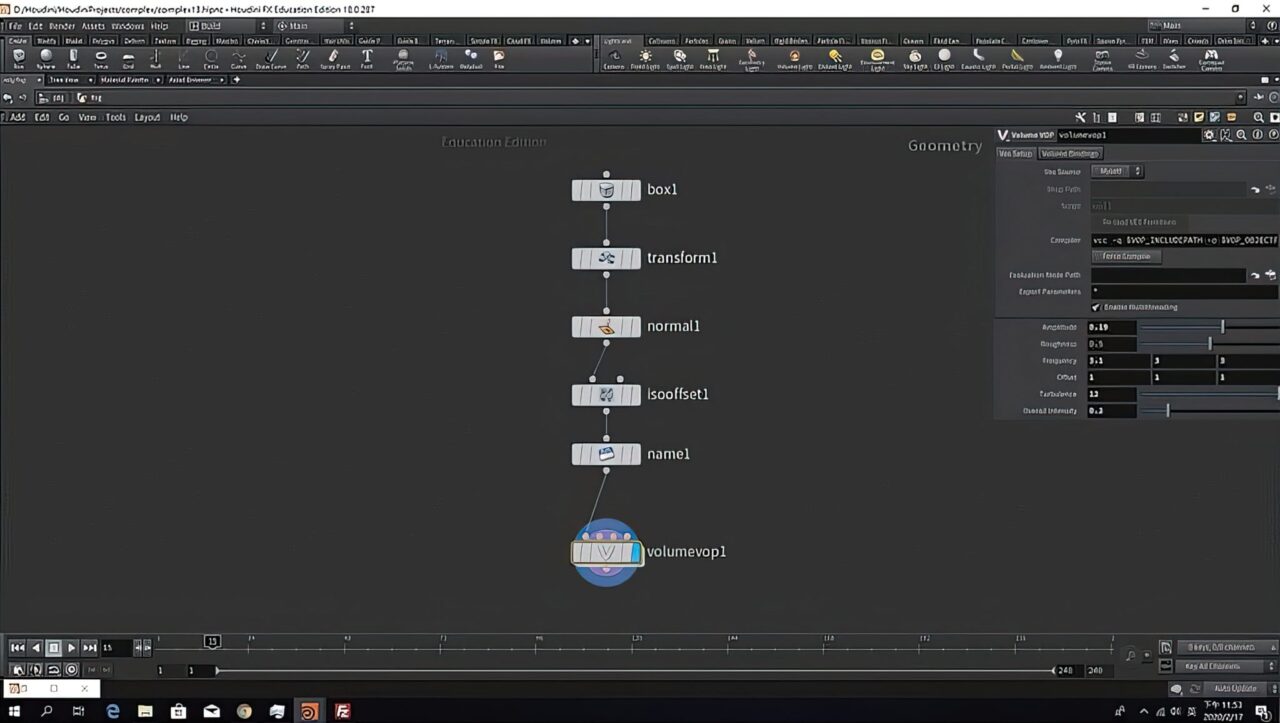
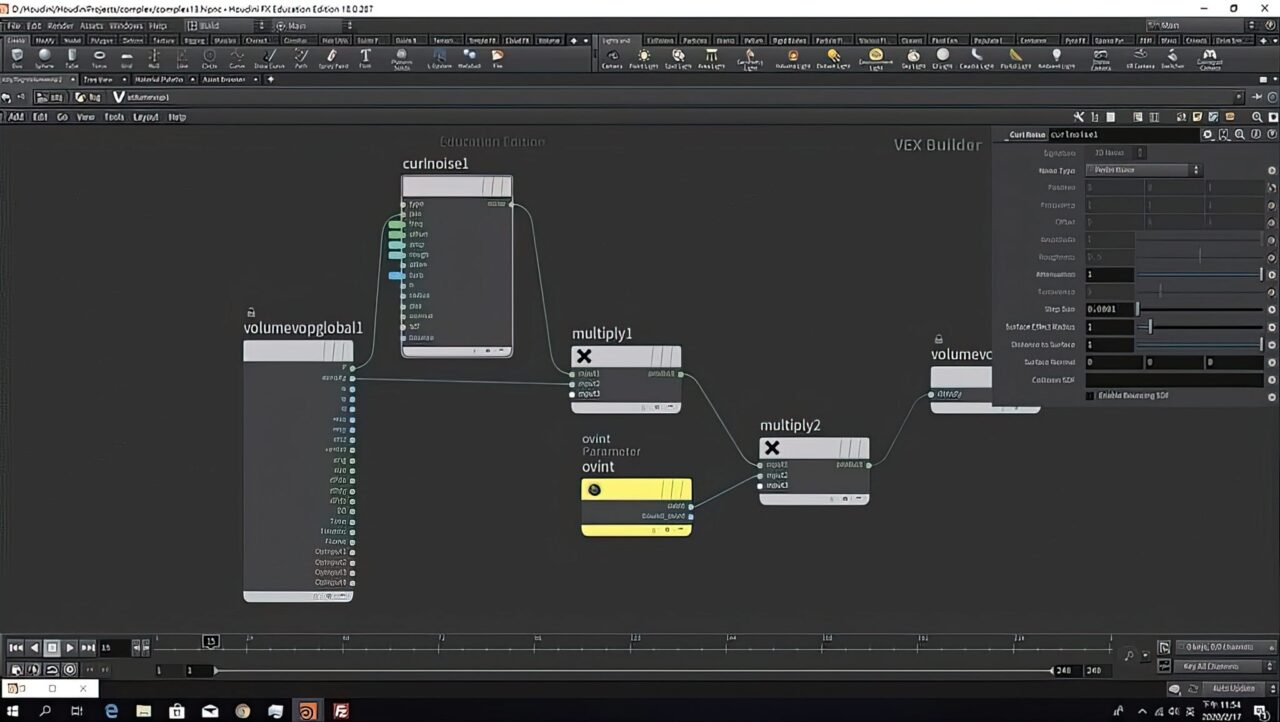
Another improvement I made was using a volumetric node to exclude the unseen parts of the scene. This helped to improve the efficiency of the render time, and allowed me to have better control of rendering the geometry separately. I also added fog, which was originally a box geometry, and used the iso offset node and volume vop node to create the basic fog. Then, I added curl noise and some parameters to create a more realistic effect.
Finally, I used Quixel to download all the textures and geometries I needed for this project. This saved me a lot of time, and allowed me to focus on the creative aspects of the project.
Technical Guide
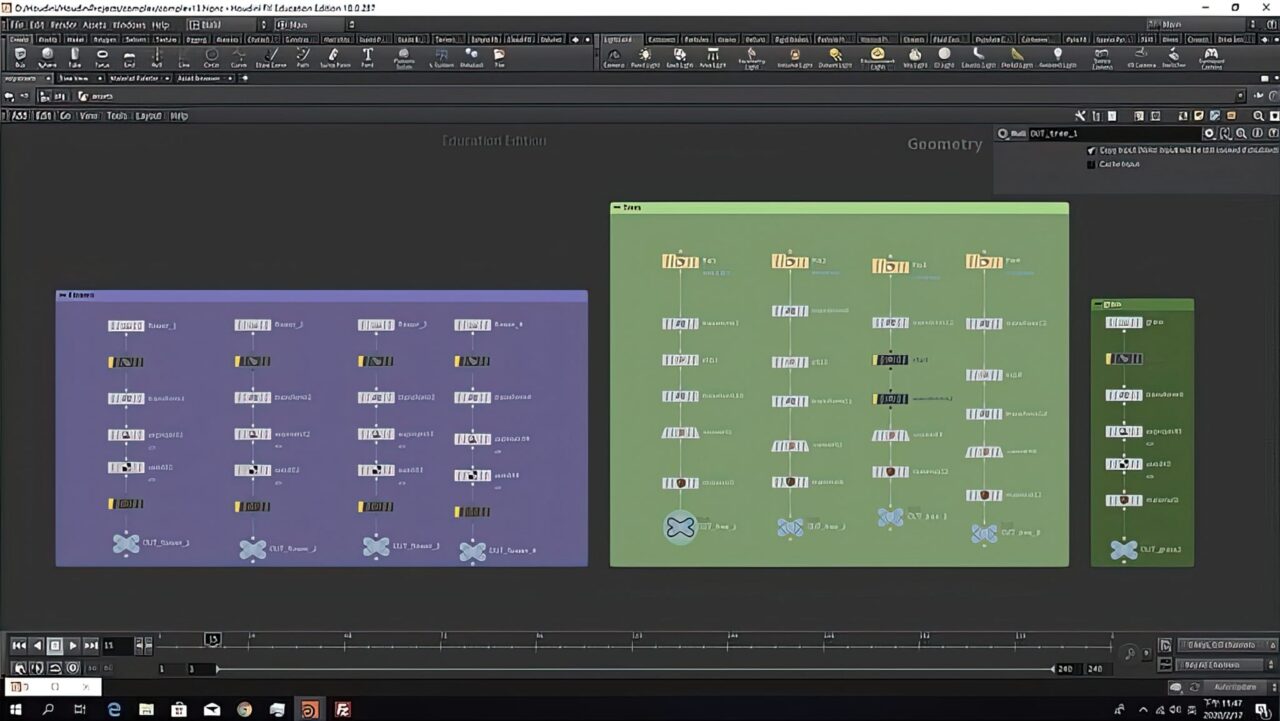
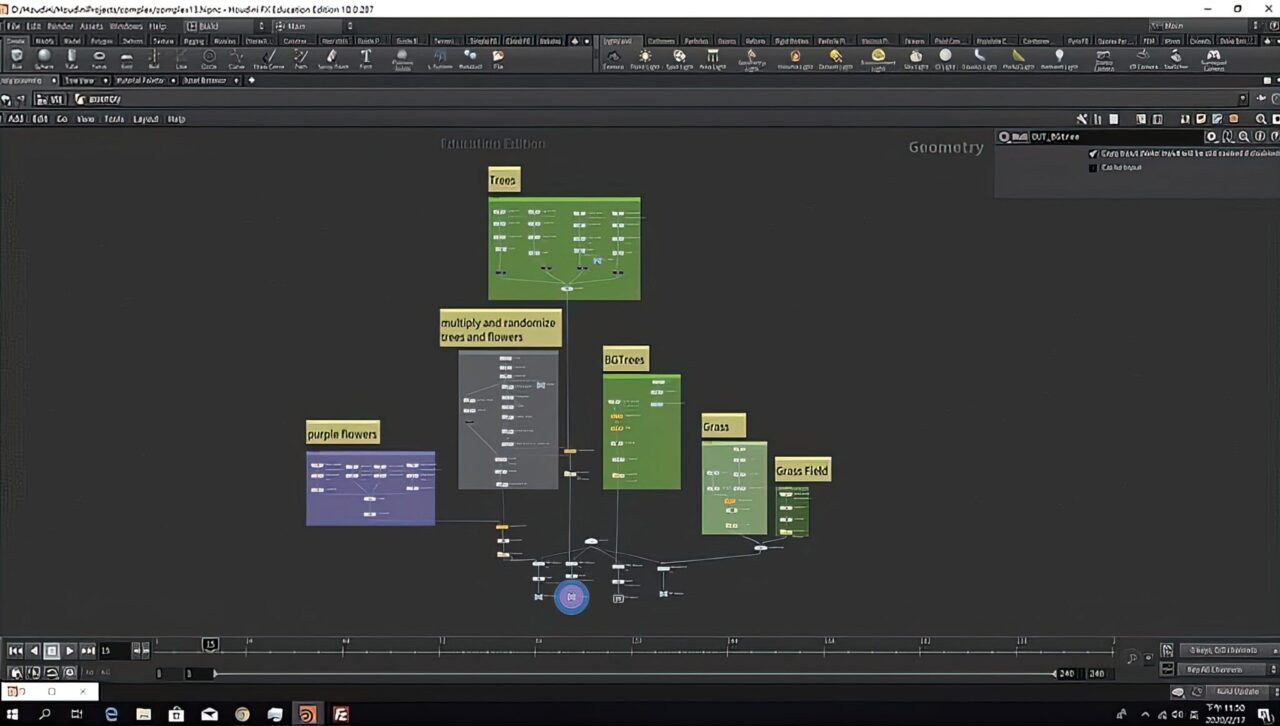
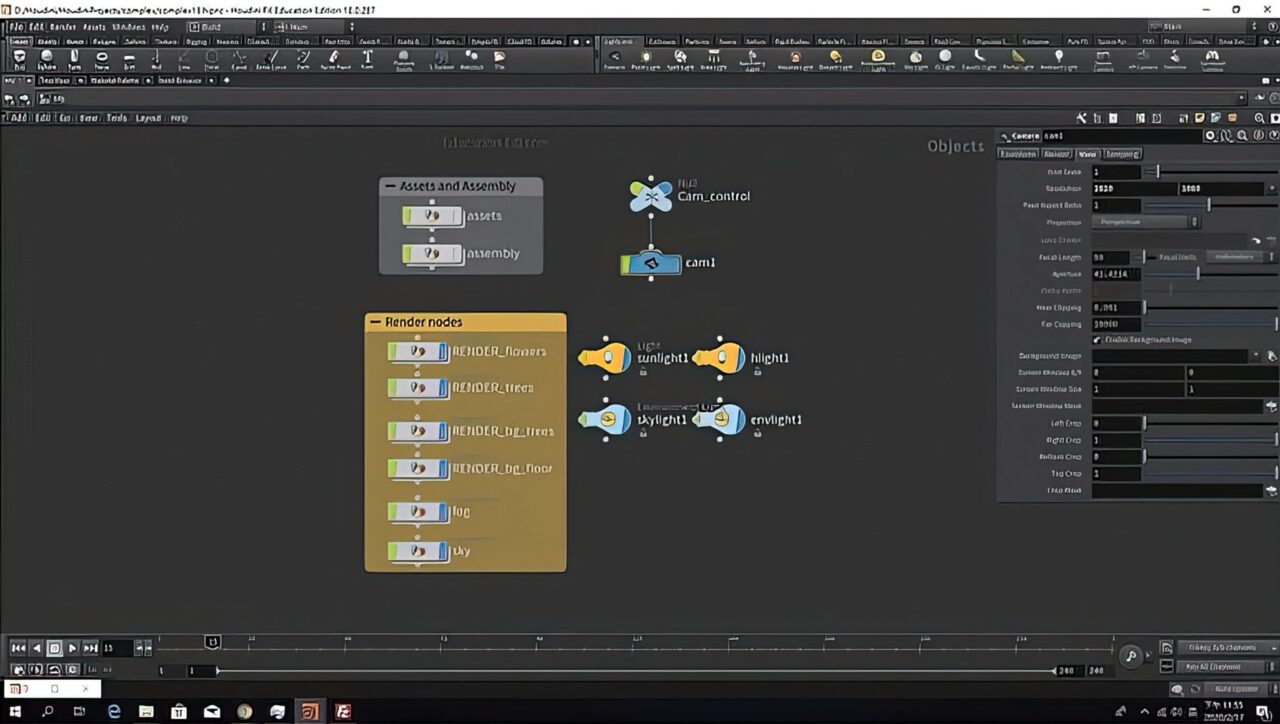
To create this scene, I started by creating nodes for individual flowers, trees, and grass, and then put them all together in an assets (Geometry) node. After creating all the necessary assets, I created another geometry node called “assembly,” which contains all the steps of multiplying trees and everything.
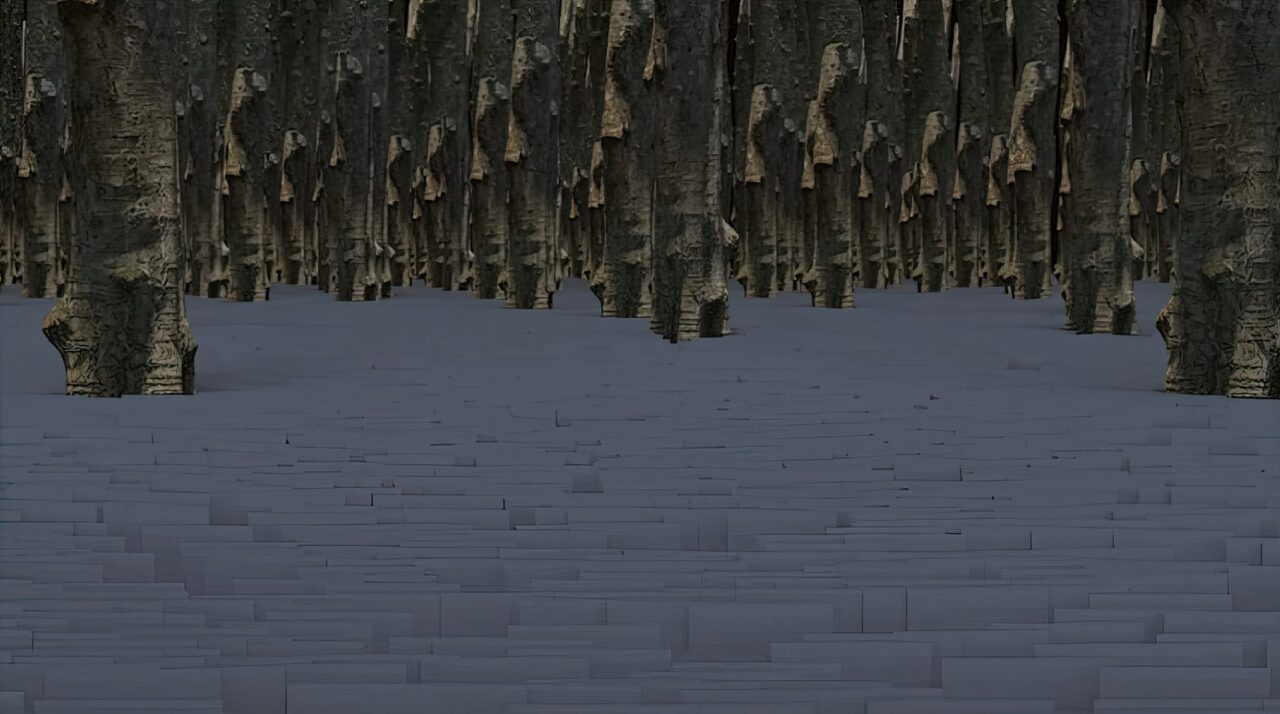
In order to have better control of rendering geometry separately, I created 6 render nodes for each element of the scene. I also added a grid with holes as a fake sky to complete this project.
assets nodeassembly nodeall the nodesview port
During the process, I encountered many obstacles, including issues with textures not showing, crashing, and render failures. However, through trial and error, I was able to overcome these issues and create a final product that I am proud of.
Proiect Description :
This project was referenced from the picture below. When I heard about this
project, the first thing that cames to my mind was an enchanted forest with a sea
of flowers and trees. I found a perfect scene in Belgium, a picture of the Hallerbos
(aka “The Blue Forest”). After discussing with the professor and listing all the
challenges I might face, I began my journey of creating this forest. I downloaded
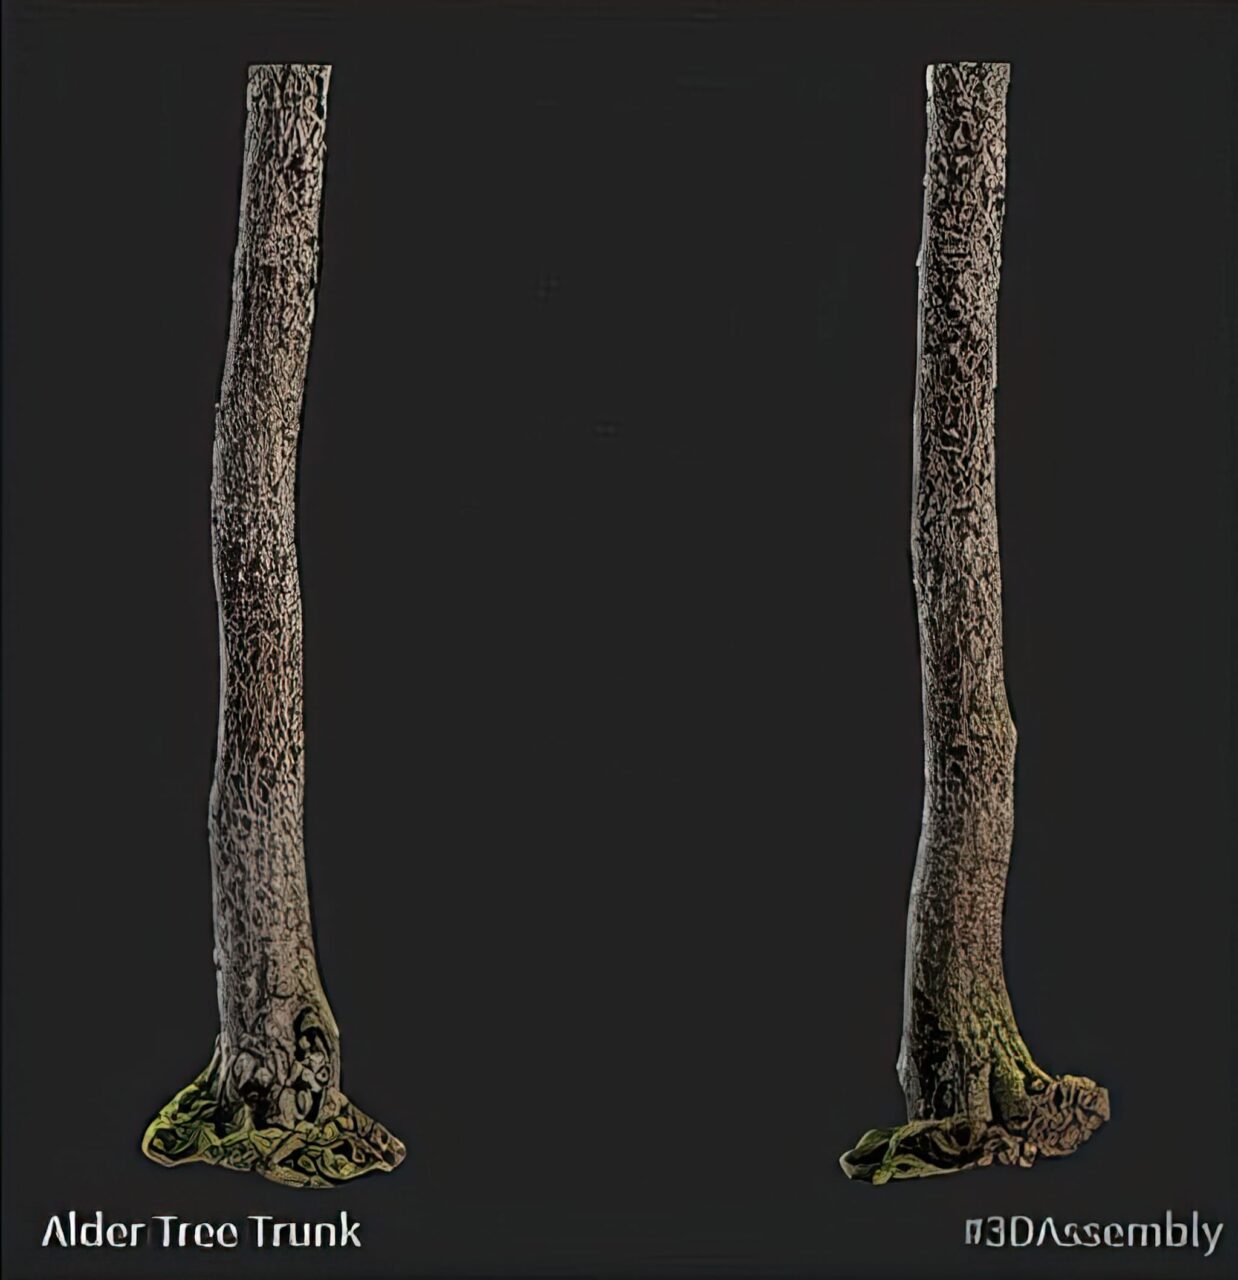
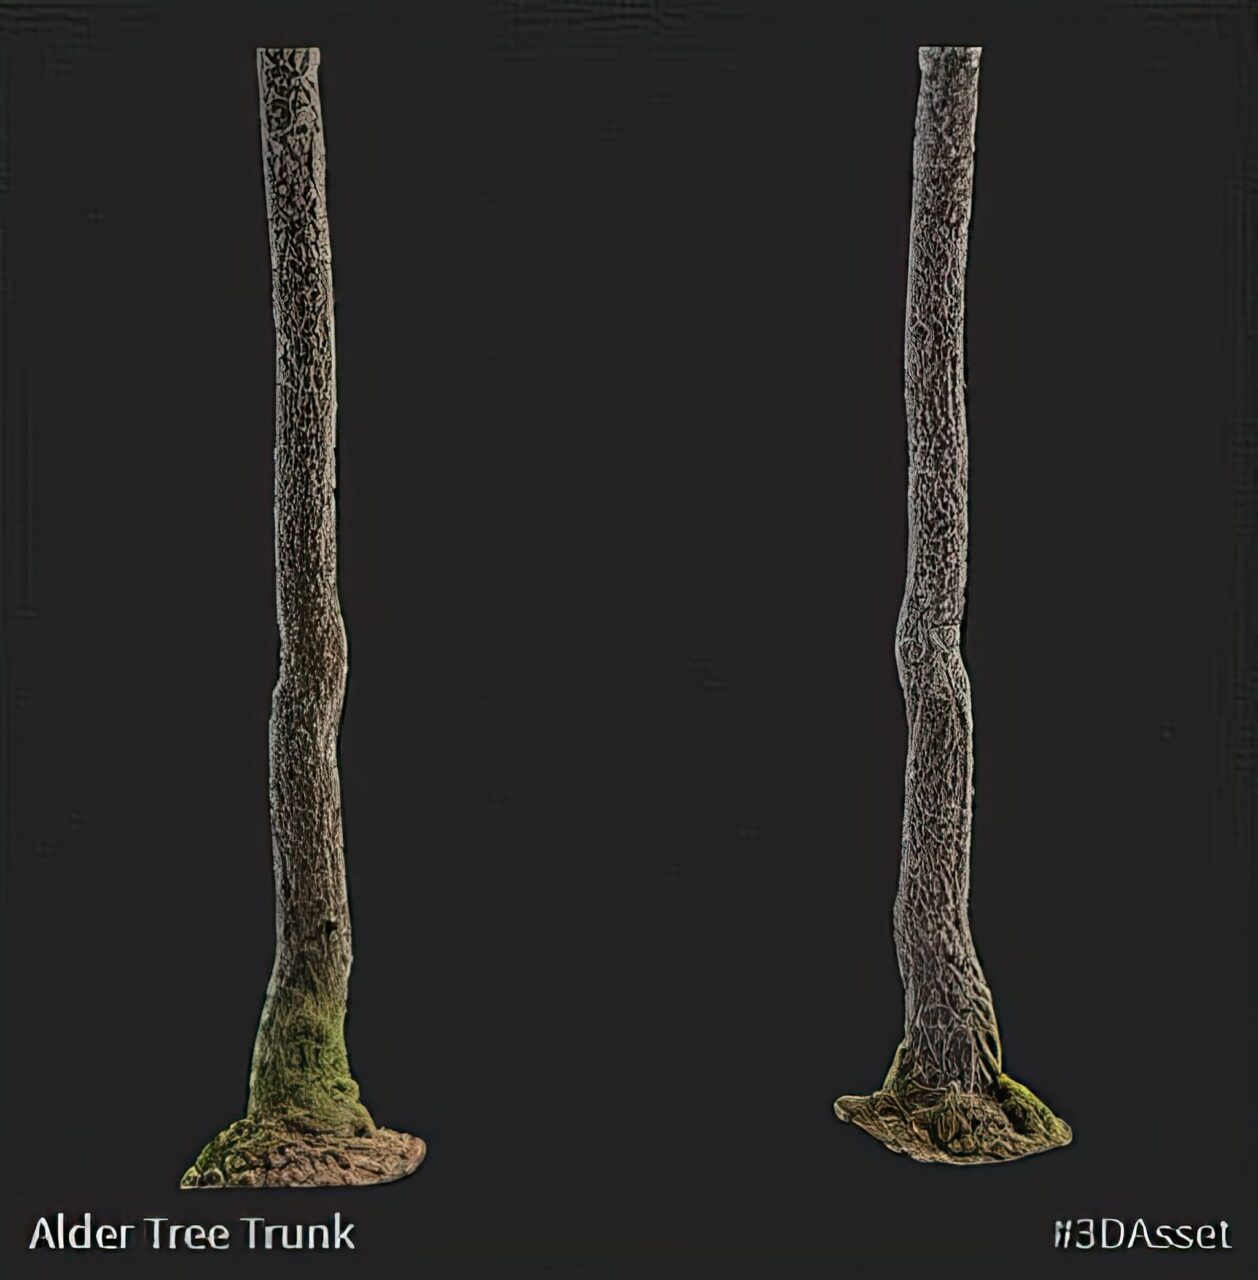
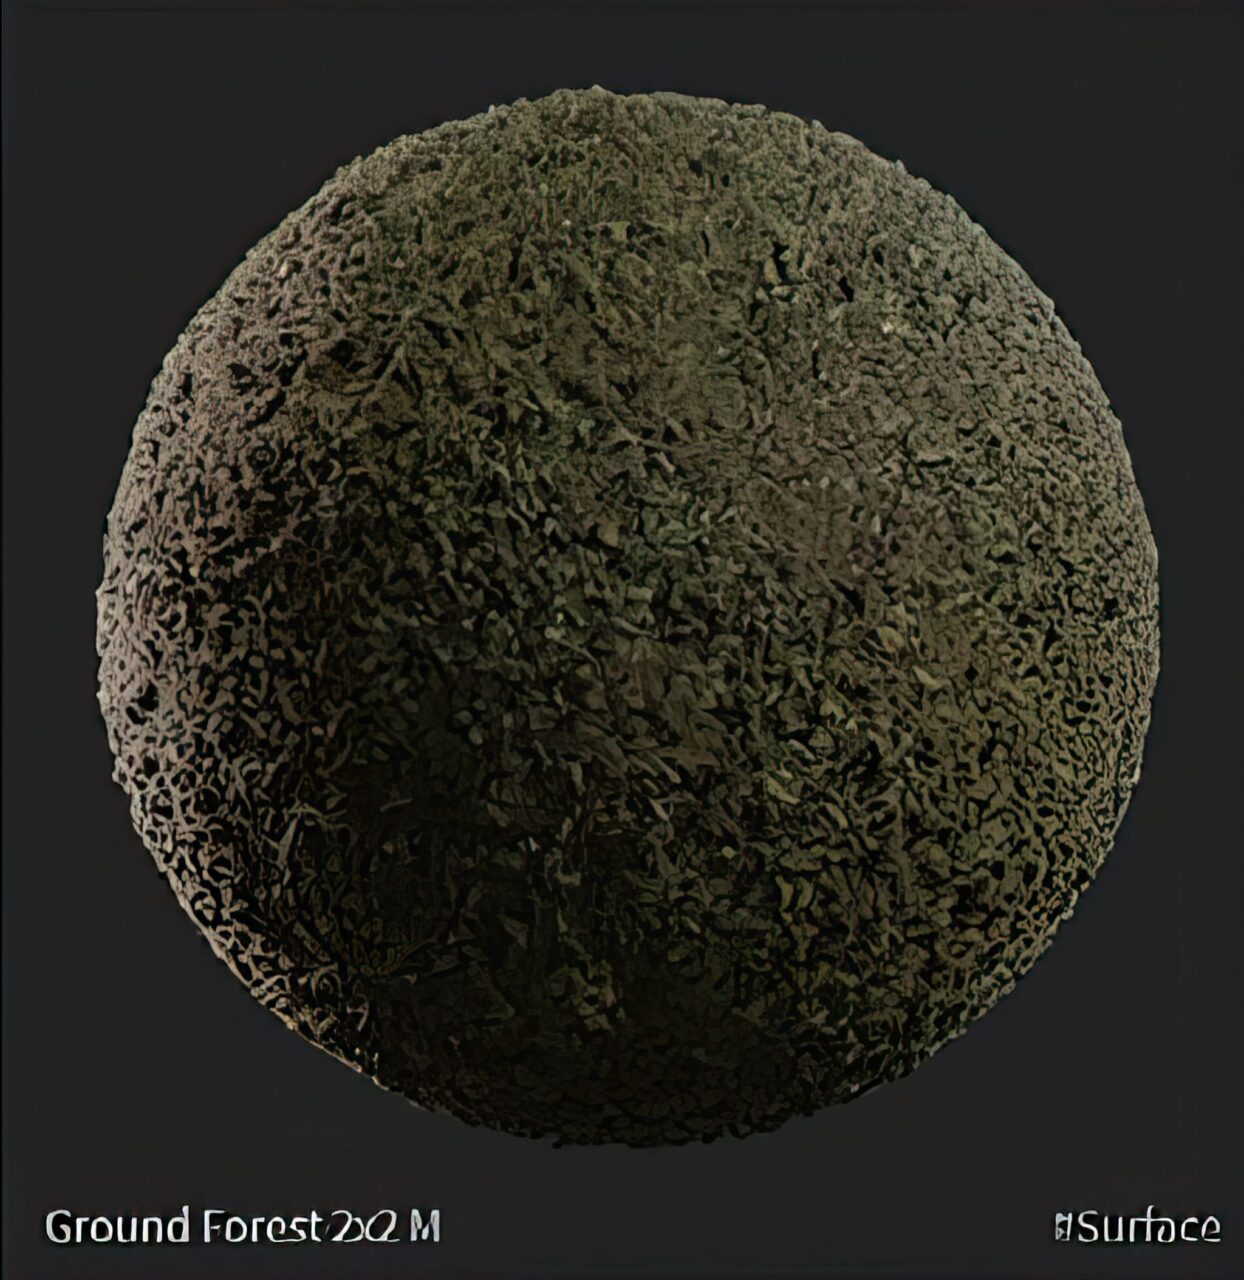
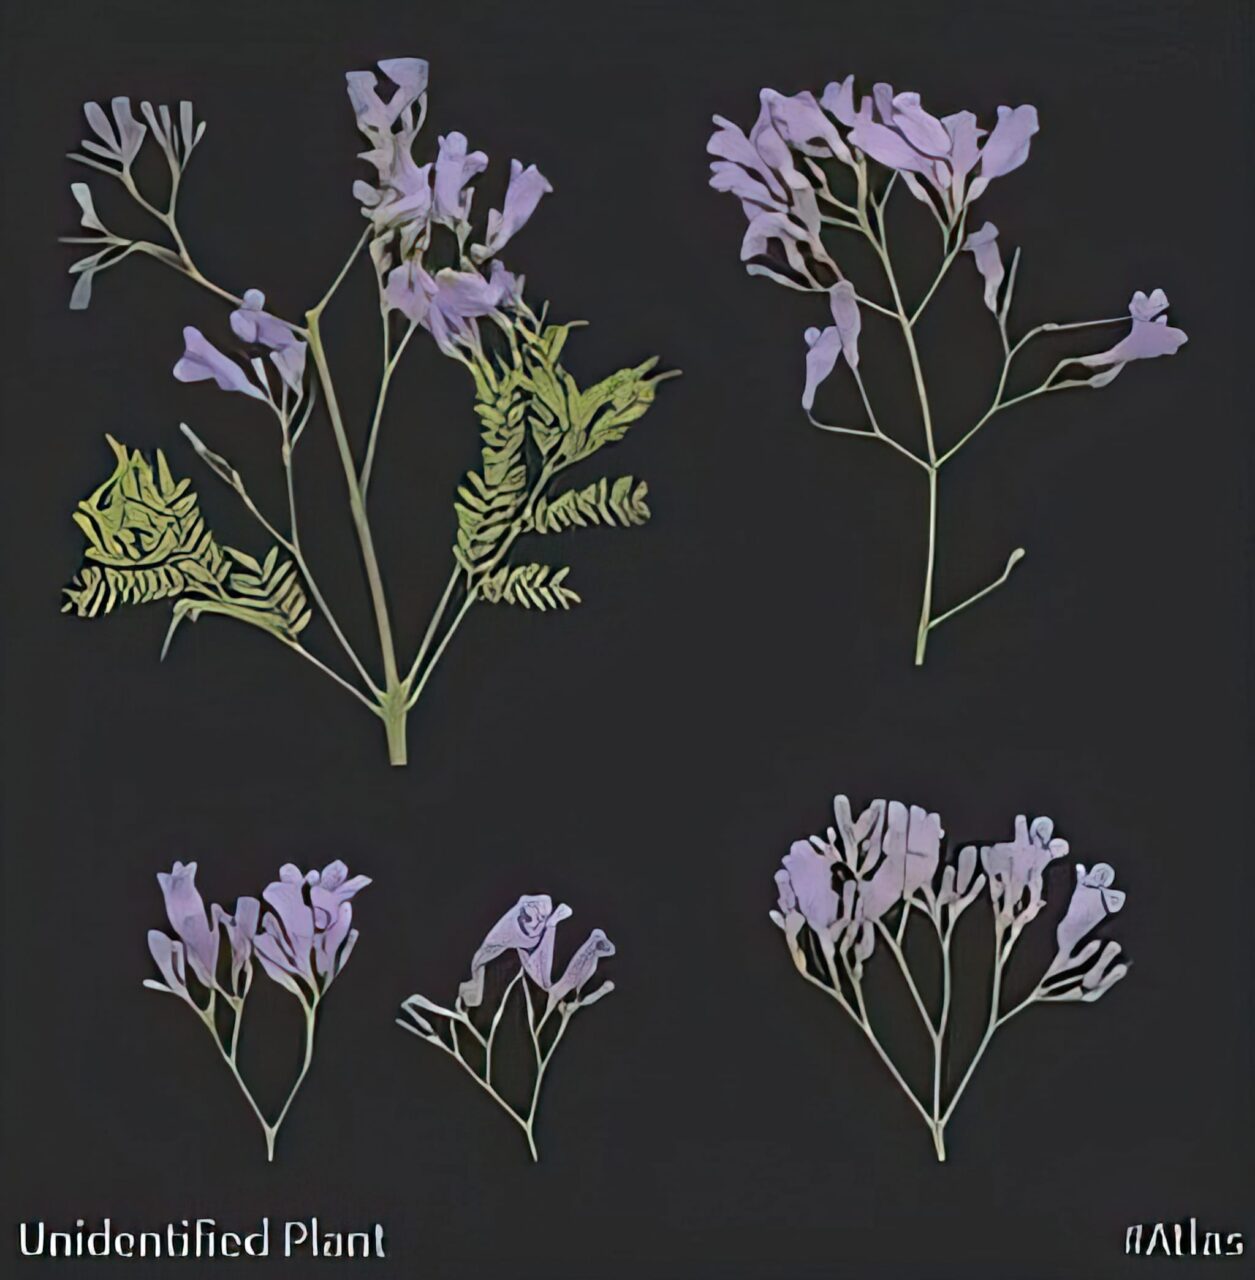
4 different trees and other textures from Quixel. Besides imported the geometries,
I attached the flower and grass textures on grids, and used the “copy to point”
node to spread it, and it works better than I expected. However, I did encounter
many obstacles throughout the process. I had trouble with textures not showing,
crashing, and render failures. Overall, it sure is a fun experience and I am proud
with my result.
Technical Guide:
I started by creating nodes for individual flowers, trees , the grass, and put them all together in a
assets (Geometry) node. After created all assets I need, I create another geometry node called
“assembly,” which contains all the steps of multiplying trees and everything. and eventually I used
an volumen node to exclude the unseen part. Finally, in order to have better control of rendering
geometry separately, I created 6 render nodes for each elements from the scene, and added fog
and a grid with holes as a fake sky in it to complete this project.
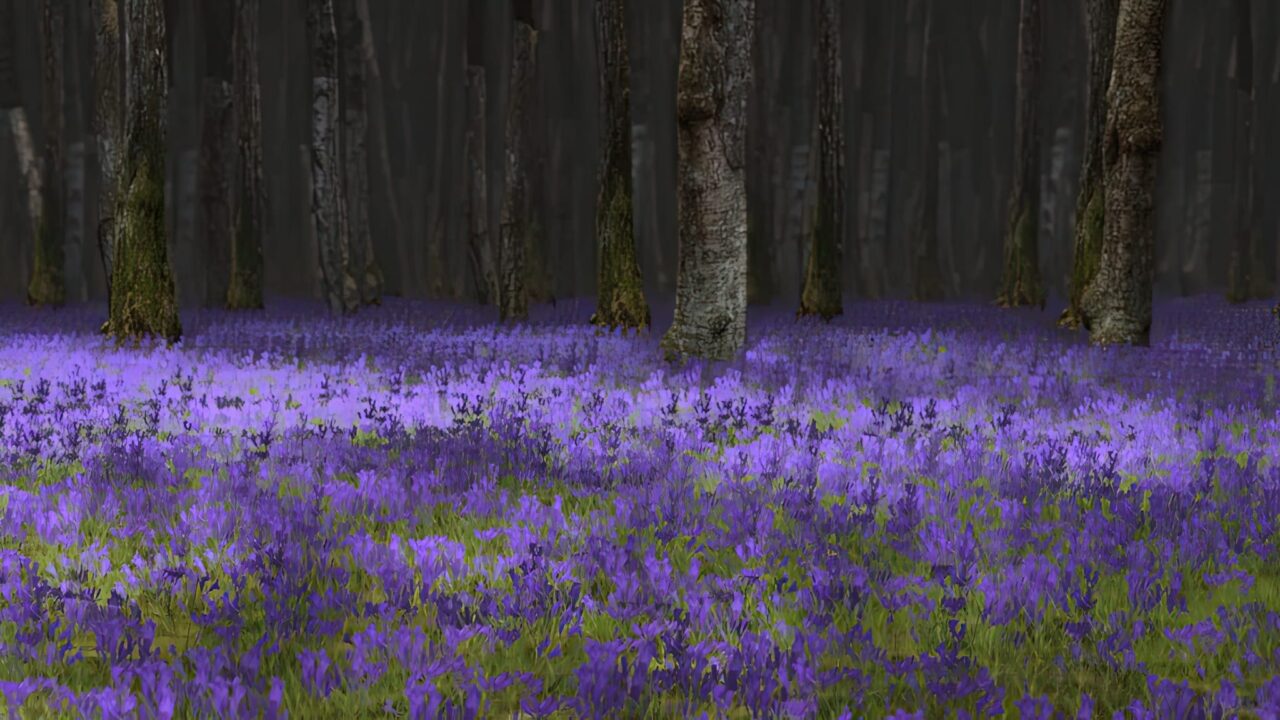
My first render was a big failure. Besides haven’t orient the tree, all the flower
and grass were rendered as an empty grids. Eventually I found out that the
problem was on the texture map. The displacement texture was what causing
the render issues. After removed the displacement texture, the other textures
were all rendered out fine.
This is my 1 /2 resolution render (960 x 540). I had to use tile render to render
out the final images, I took very long to render the whole scene, I am still
looking for a way to make it more efficient.
What I have done beyond the requirements :
Besides using copy to points and continuing my method of using null and object
merge nodes to tidy the scene. I added the fog which was originally a box geometry.
I used iso offset node and volume vop node to create the basic fog, and then I dived
into the volume vop node to add curl noise and some parameters.
What I used from Quixel •
Below are all the textures and geometries I downloaded from Quixel.
Creating an enchanted forest scene was a fun and challenging project, but I learned a lot about the technical aspects of 3D VFX and digital composition. One of the biggest takeaways was the importance of planning and organization in creating complex scenes like this. By breaking the project down into individual assets and nodes, and creating render nodes for each element of the scene, I was able to have better control of the final product.
Overall, I am proud of what I was able to create, and I hope that this breakdown will be useful to others who are interested in creating similar scenes.
In terms of lighting, I used four different types of light sources to create a realistic and immersive environment. The main light source is a sun and sky light, which helps to create the feeling of being outdoors in a forest. Additionally, I used a spot light to highlight specific areas, such as the center of the scene where the flowers are located. Lastly, I added an HDR image to the environment to provide more natural lighting and reflections.
One of the biggest challenges I faced during this project was dealing with the complexity of the scene. With over a million polygons and multiple light sources, rendering the final images took a significant amount of time. To speed up the process, I had to use tile rendering and render each section of the scene separately.
Overall, I am very pleased with how this project turned out. I was able to successfully create a complex scene of an enchanted forest that accurately represented my initial vision. Through the use of various techniques and tools, I was able to create a realistic and immersive environment that truly captured the essence of being in a magical forest.